

Behind the scenes: new pilots
The pilot behind the goggles
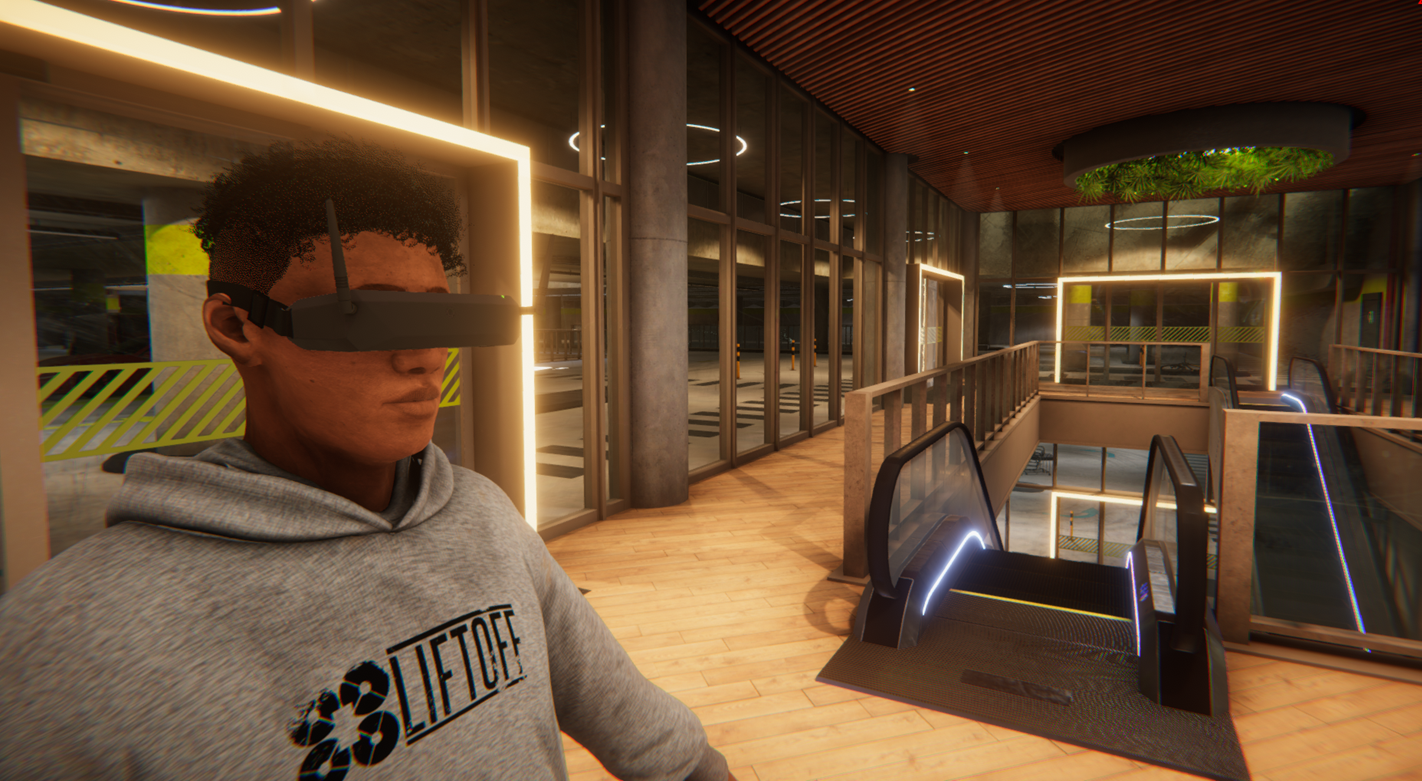
For FPV pilots, both in real life and in sims, it's all about the drones. The Liftoff franchise puts tons of effort into ensuring quads look realistic and behave realistically, down to the smallest details. On the other hand, it's fair to say Liftoff has never been particular character-focused. (FPV pilots typically don't spend too much time looking at themselves through their video feed. :P)
The thing about 3D characters in games and sims: it's hard. Creating convincing, functional character art takes a lot of specialist knowledge. It also takes a lot of time (and thus: budget) that could also be spent elsewhere. In short: character art is a pretty big challenge for a small dev team such as LuGus Studios.
Of course, we would have loved to tackle that problem head-on. The fixed character model that currently represents the pilot in Liftoff: FPV Drone Racing and Liftoff: Micro Drones is far from ideal from a representation perspective. It is simply a solution borne out of necessity.
Enter a new intern with a penchant for 3D character art...

Context
When I joined the team mid September 2023, I was told that they had wanted to add more character options to Liftoff for a few years now. Because Liftoff has never been a character-focused game, characters or some sort of character selection had never been a priority. When they saw my portfolio as a character artist, they saw an opportunity to work on that.
The concept
Since I only had a few months at LuGus Studios, we brainstormed how best to make use of my time on this project. Ultimately we decided on this: I would create two body types, one feminine and one masculine. They would both wear the same outfit. I would then create six heads, three for each, to fit on these bodies.
Hair was a different question. While was certain I wanted to learn, I had very little experience with 3D hair. I would take the time I had left to create some hairdos, but couldn't guarantee how quick or usable the results would be.
Bodies
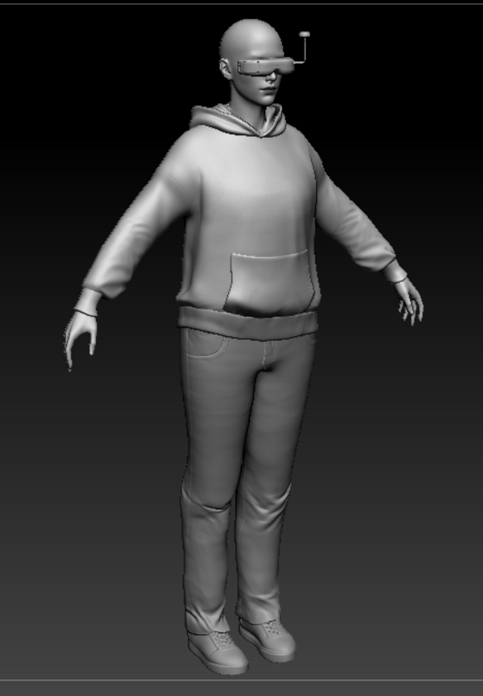
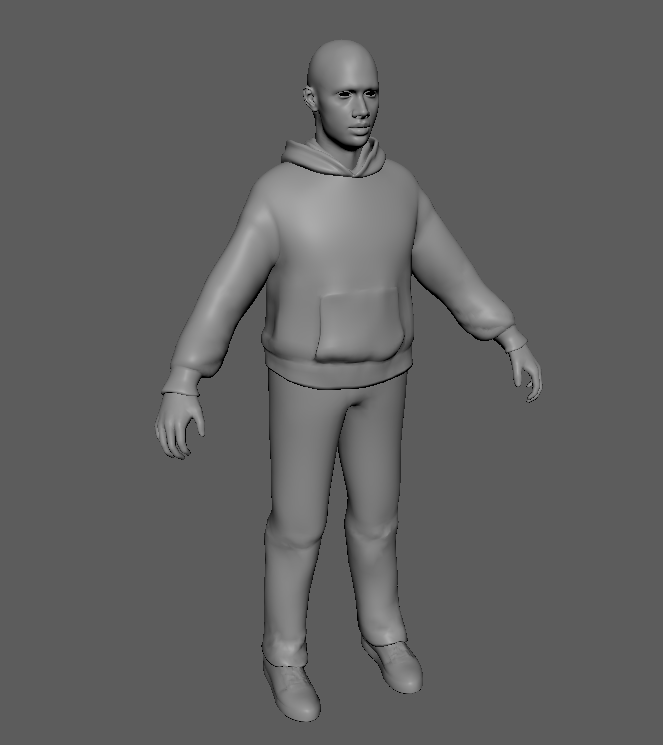
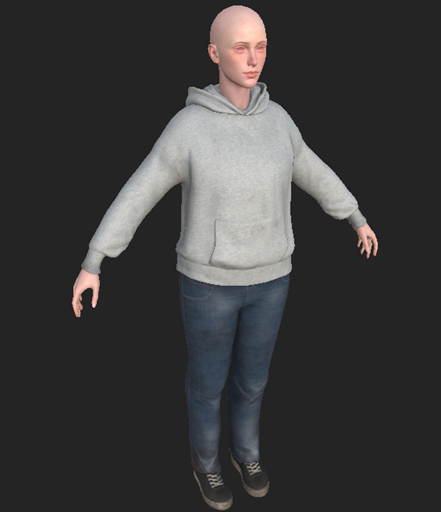
In the interest of saving time, I started working from a pre-provided body sculpt. I adjusted these to give them more realistic proportions. We decided on a simple hoodie and jeans for the character. These were all sculpted using ZBrush.
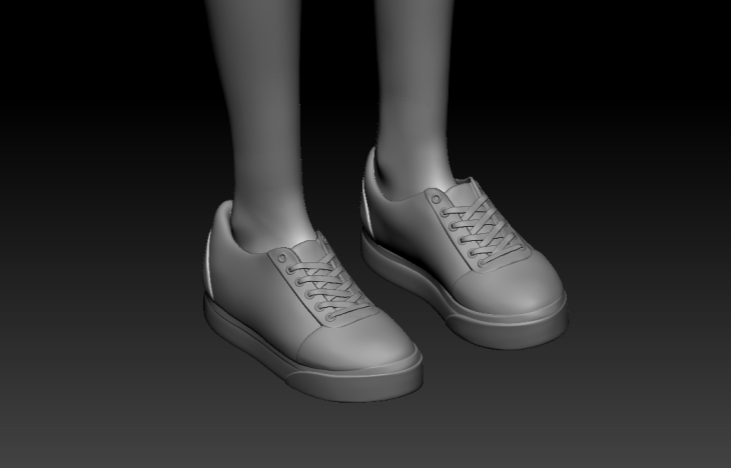
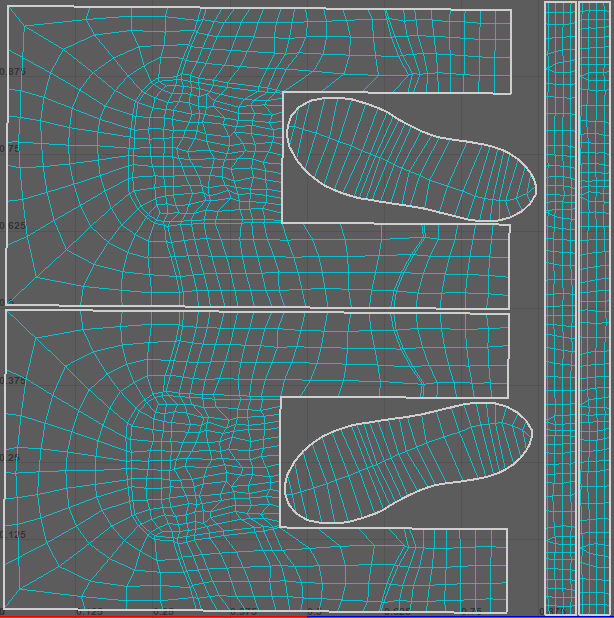
I was quite happy with the result of the sculpt. Especially the shoes. Hard details are usually where I struggle to keep control over my sculpt the most. I was a bit uncertain which parts I should bother to sculpt in and which I should leave to the model's textures. In the end, with feedback from the team I achieved a result I am confident in.

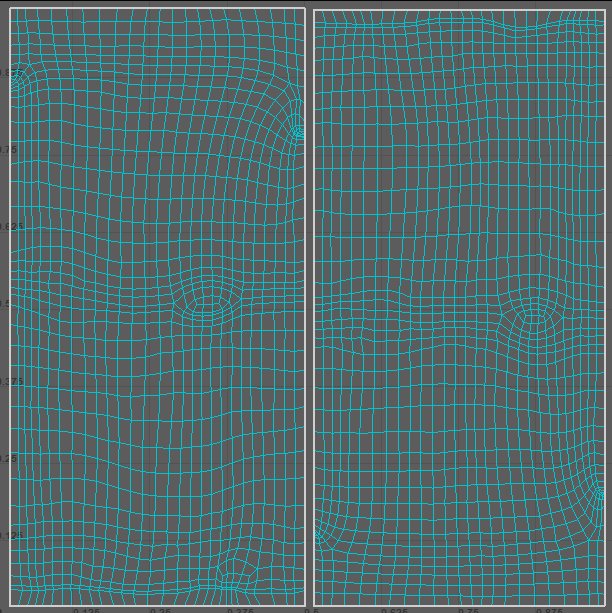
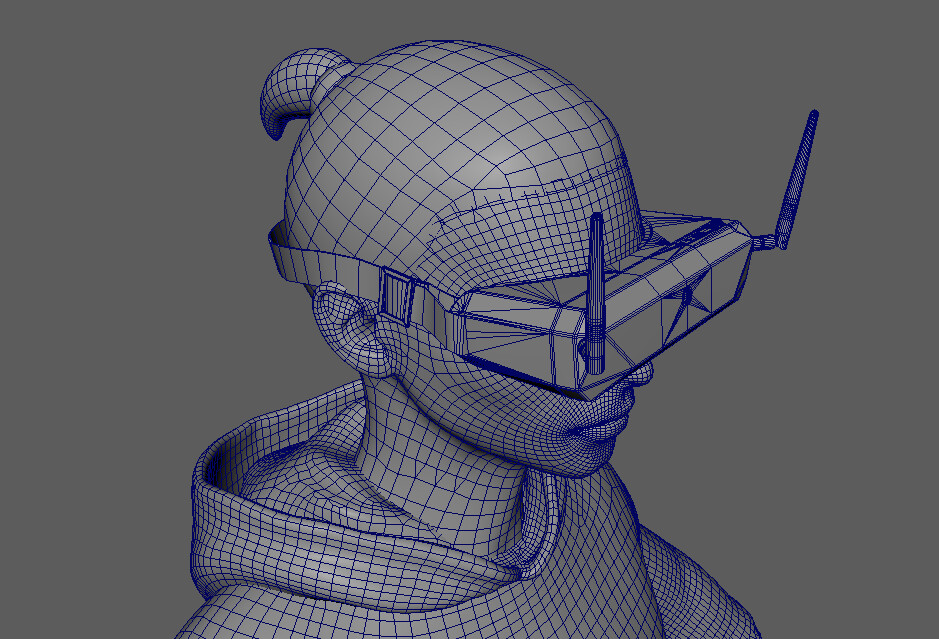
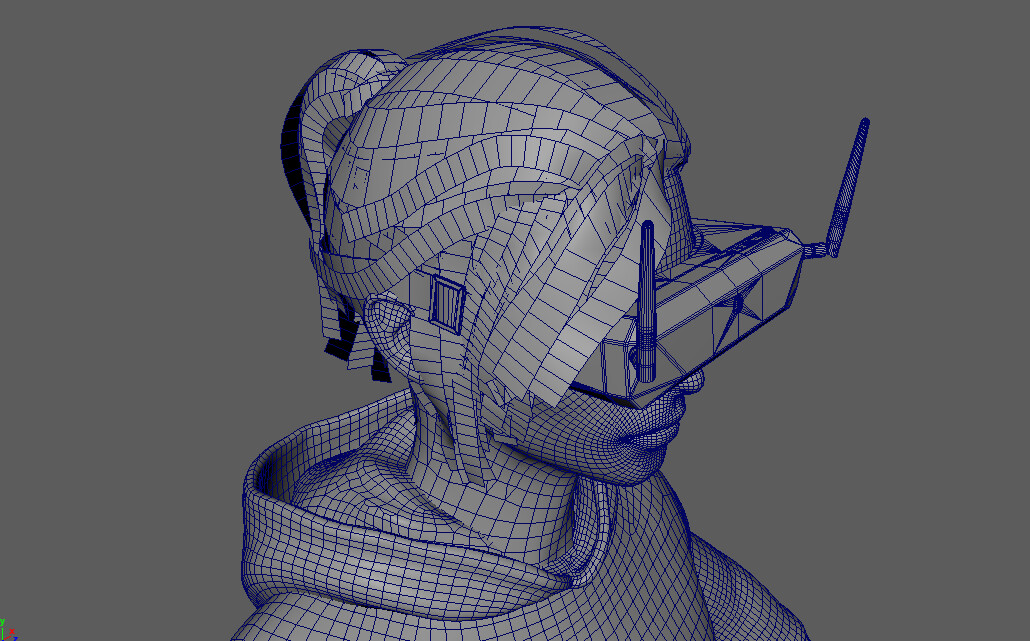
After this it was time to retopologize the body. (For the non-game artists among you: rebuild the model's structure in a way that's usable in a game.) For this I used the retopology tools in Maya. The polycount goal was set to be around the same density as the current pilot model. This part of the workflow is straightforward but tedious. While I was not used to this high amount of poly density when retopologizing, I ended up with a good result after a few days of work. The unwrap was finished the day after.
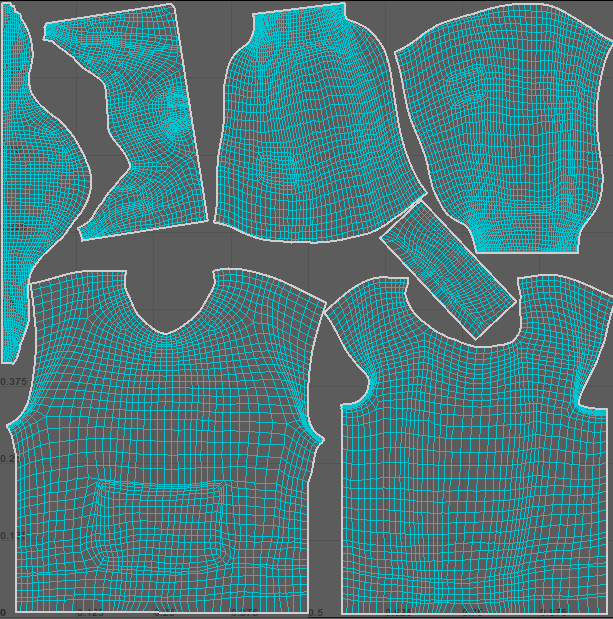
The body model was now ready for baking and texturing in Substance Painter, all of which went pretty smooth. I was given feedback on things such as the level of wear and tear. Later, I would come back to the albedo for the sweater and pants to give them a bit more contrast.
The masculine body was created by simply taking the masculine base mesh and adjusting the clothing to fit on its frame. Unfortunately there was an issue with the way my ZBrush interacted with this base mesh and its subtools. Luckily this was quickly solved using ZBrush’s projection tools.
Faces
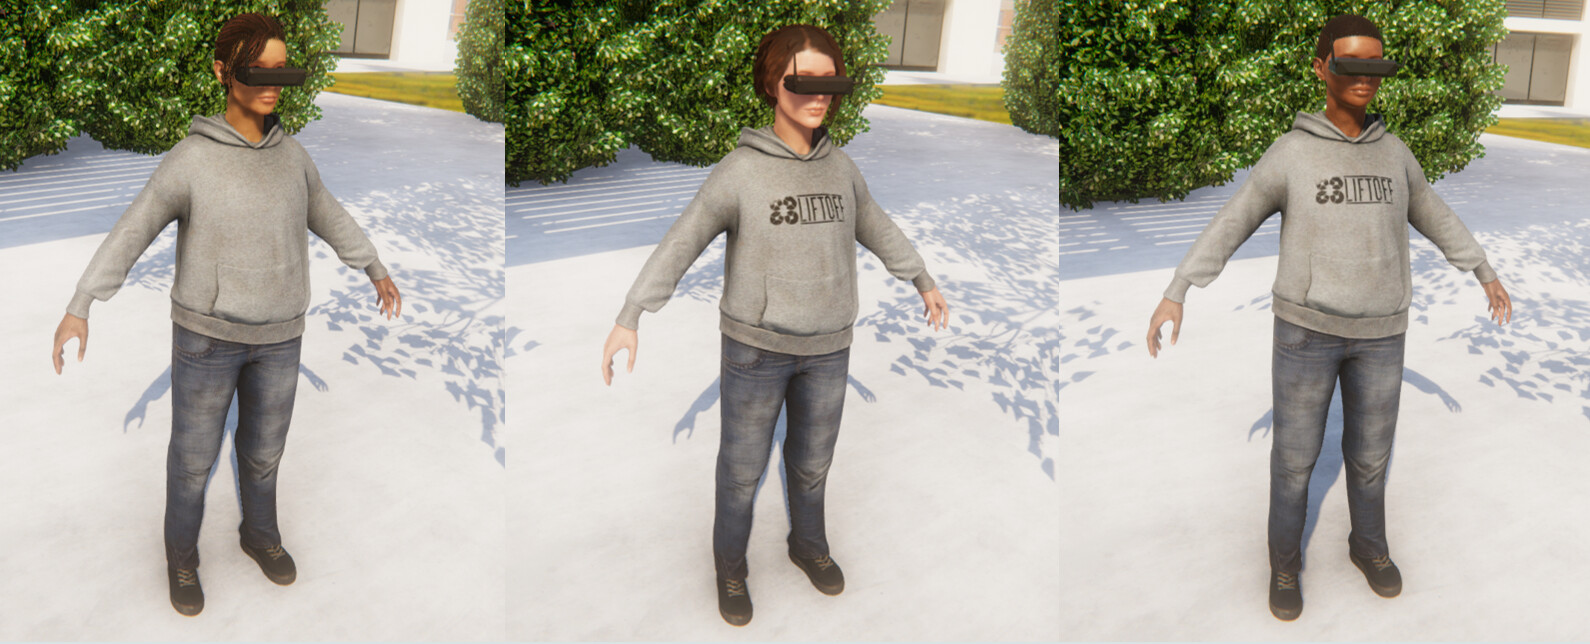
The goal was to make three faces per body type. I first created two additional feminine faces. It was a bit of a challenge to try and find a balance between enough change in the facial structure to be worth the separate models, while maintaining the shape enough to use a similar UV unwrap. I really enjoy facial anatomy, so these faces were a quick and fun task
.
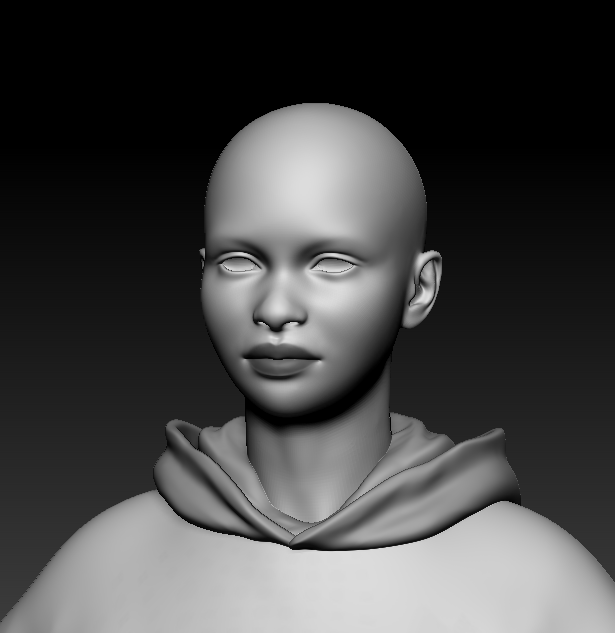
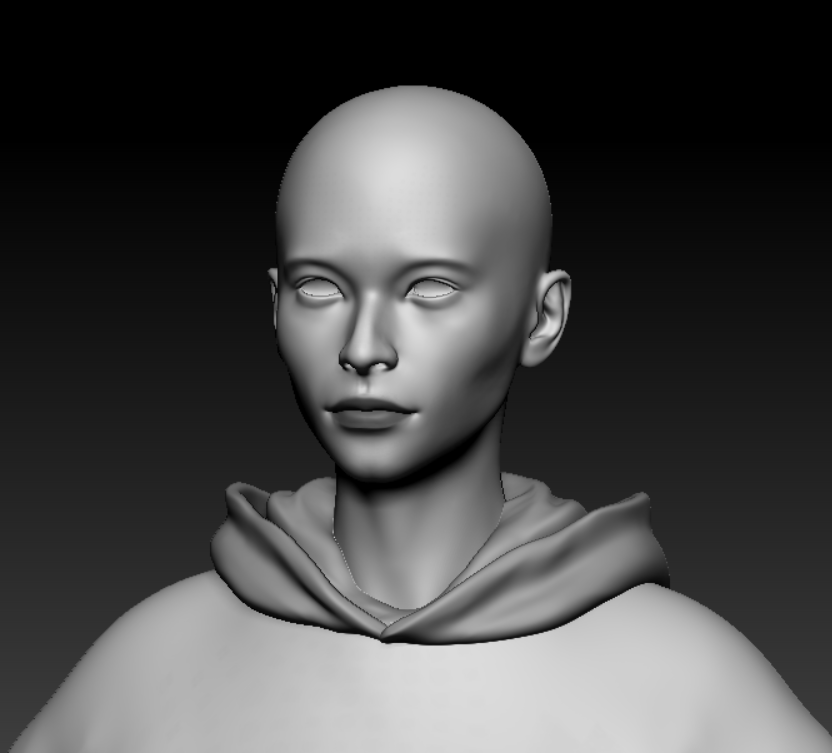
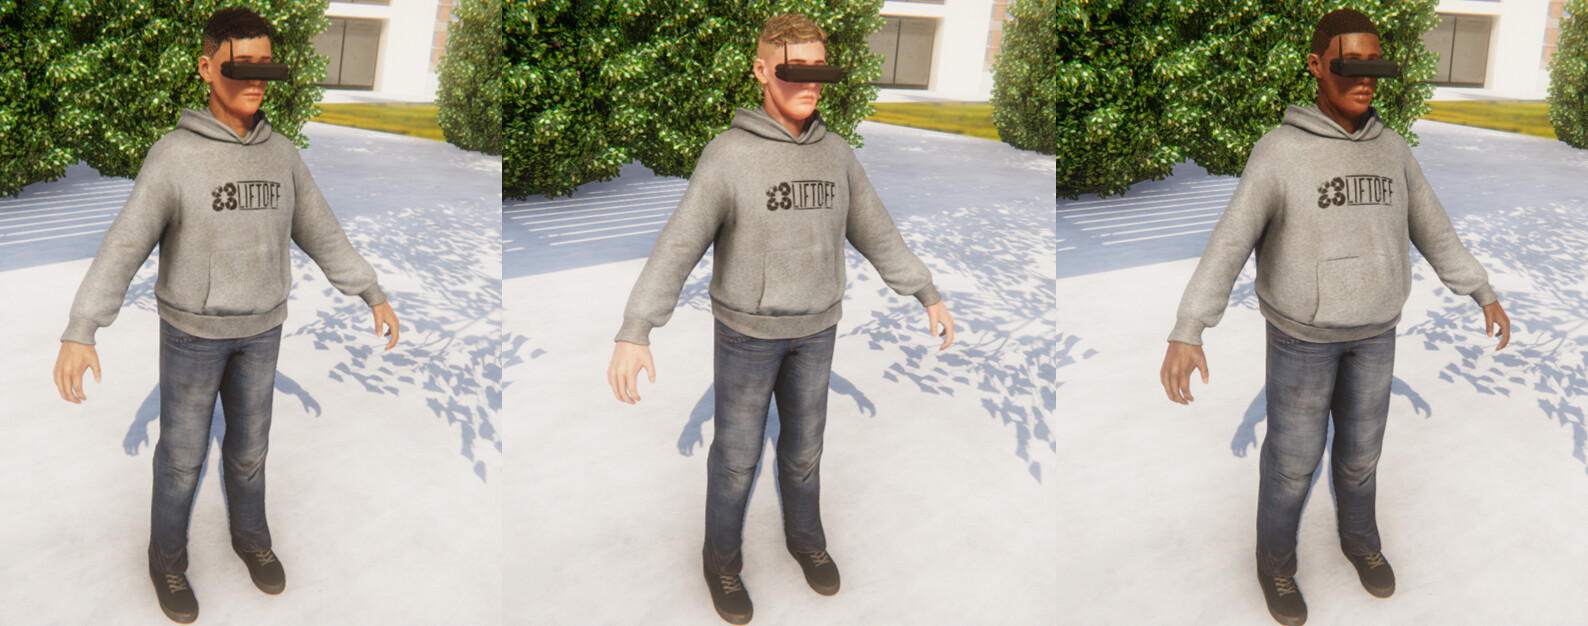
After that, three masculine faces were made to fit the masculine body.
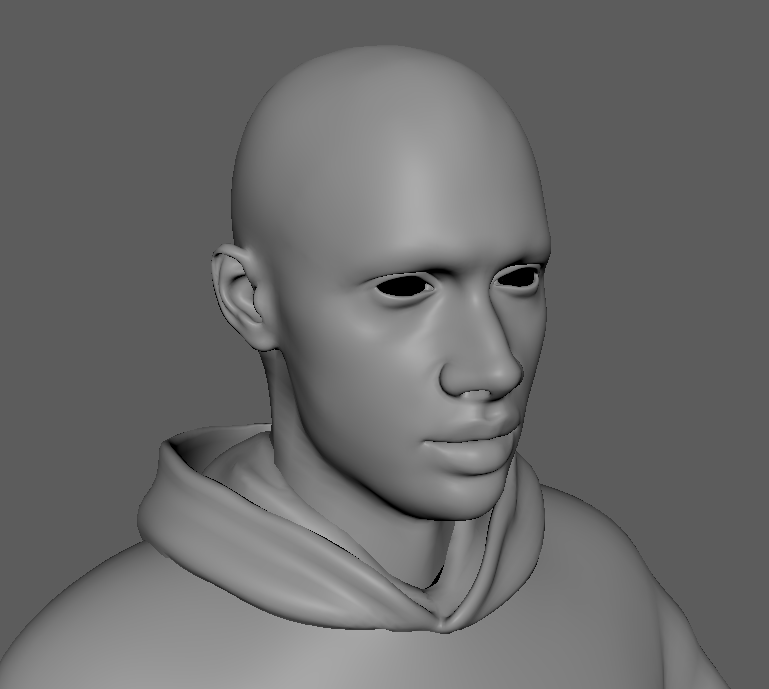

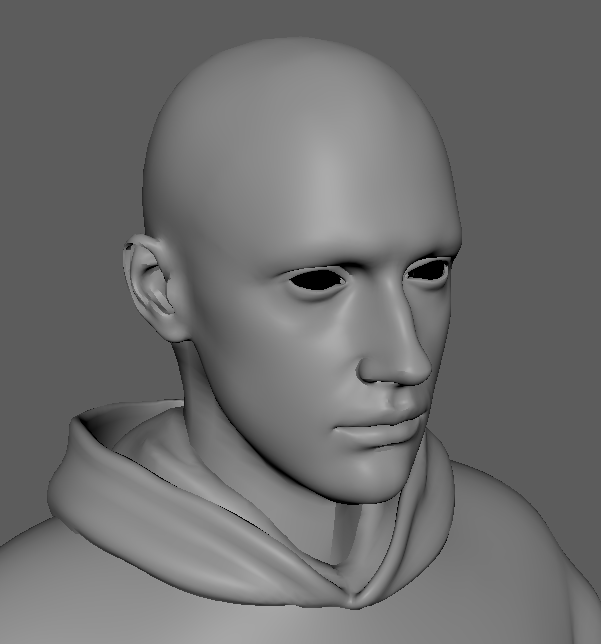
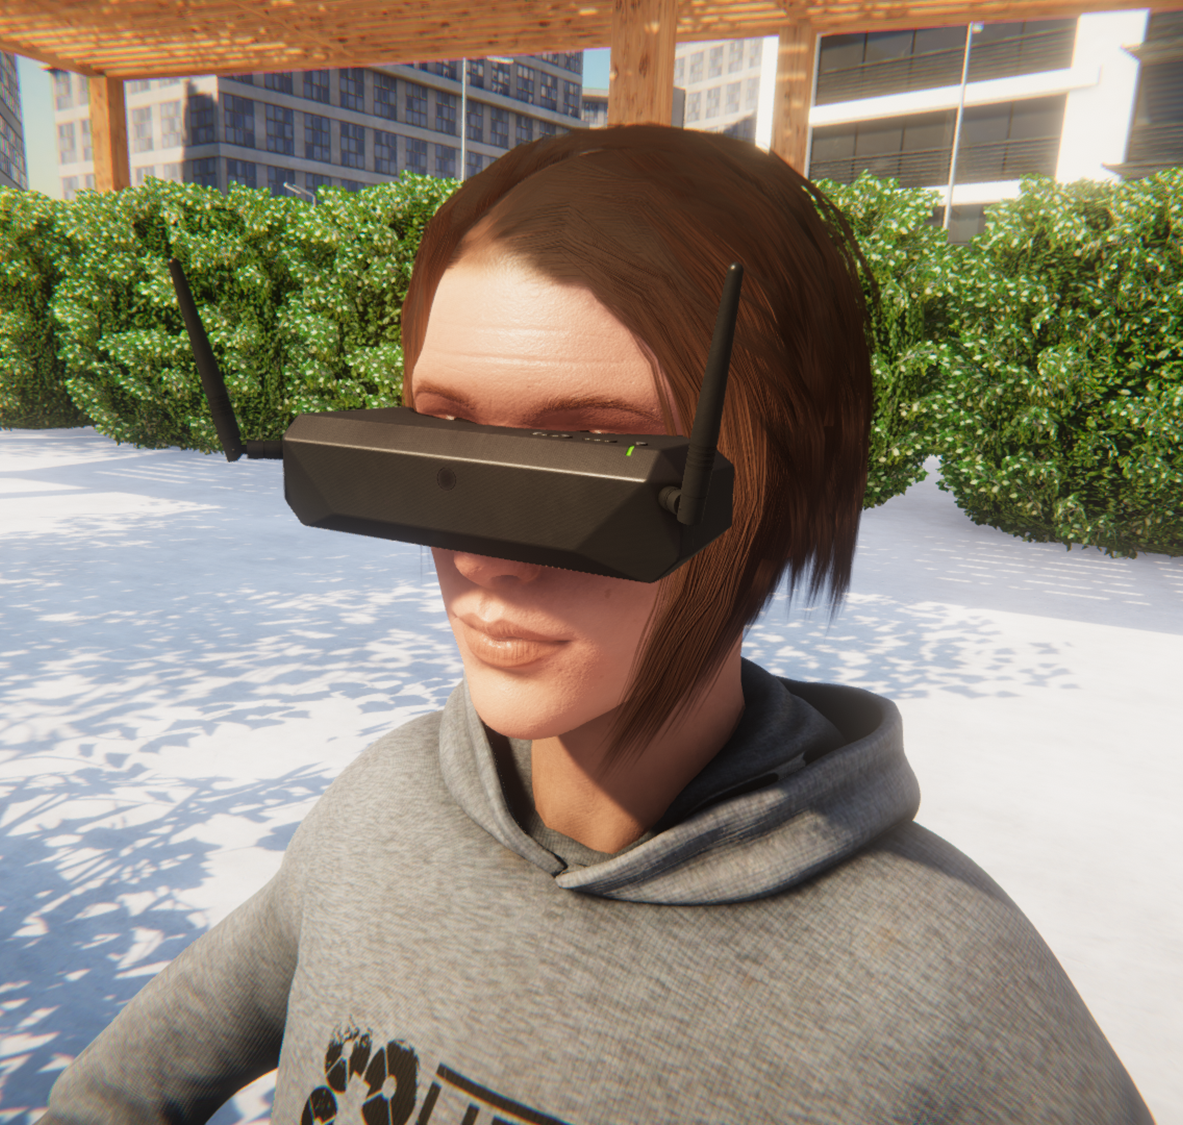
Lucky break: drone pilots usually wear goggles that cover their eyes. There was no point spending time on creating eyes! They wouldn't be visible in game either way.
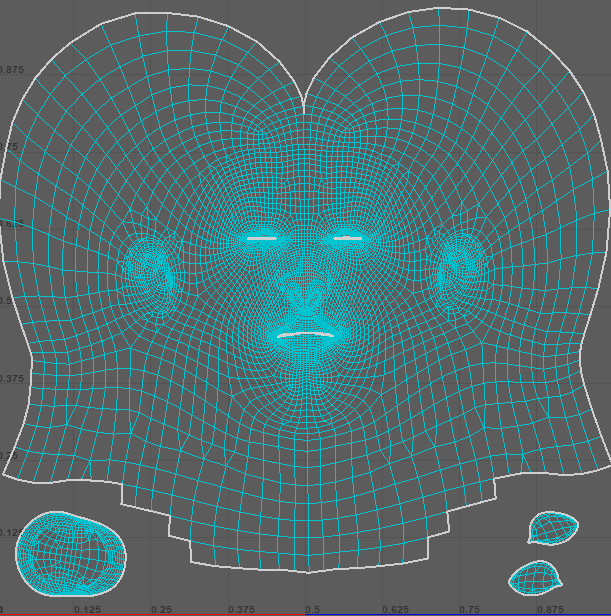
The texturing of the faces was a little unconventional. Kasper, LuGus’ technical artist, created a shader for me that allowed me to use the same masks for all the faces of the same gender. I will briefly explain how it works.
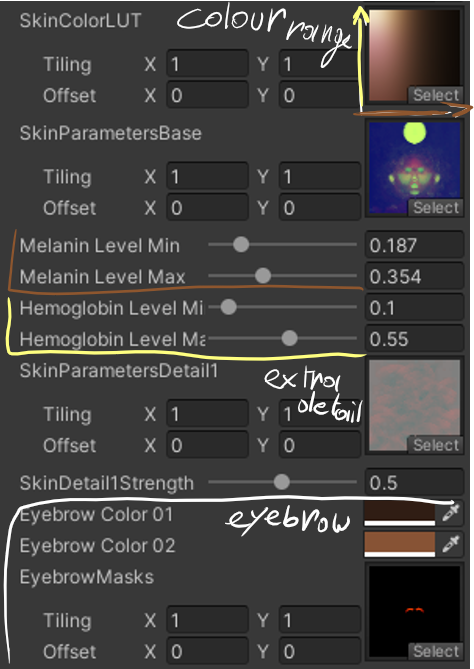
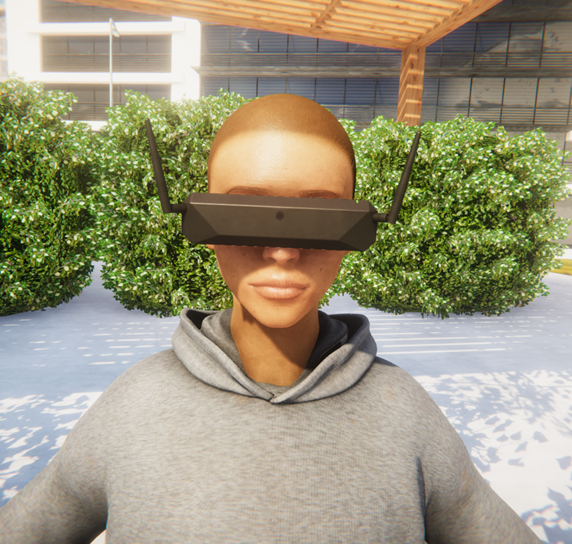
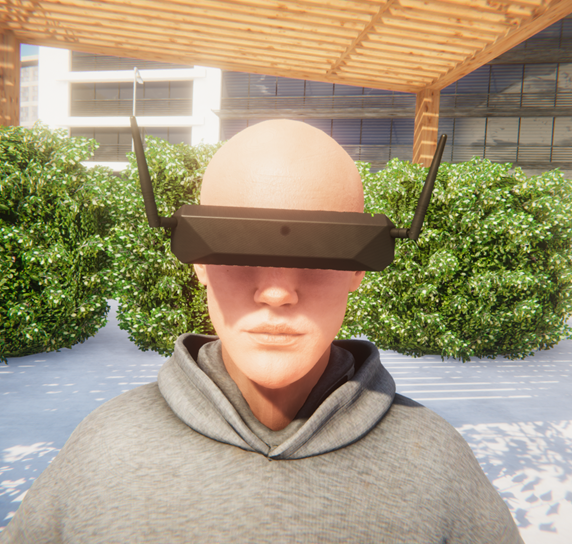
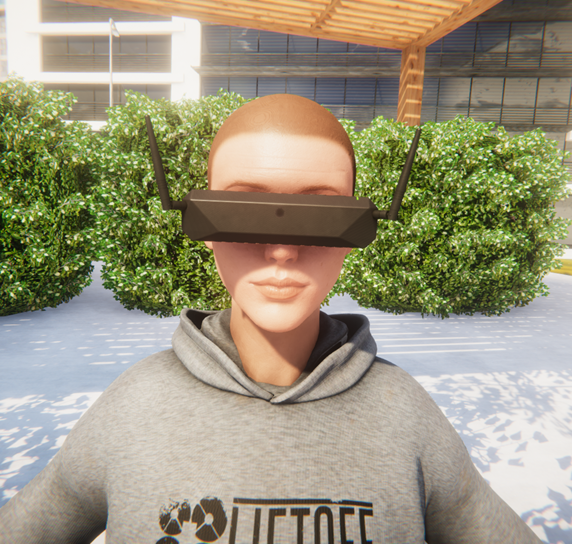
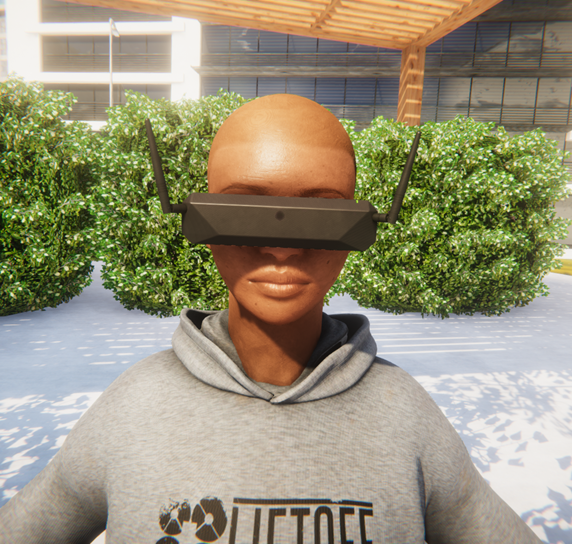
Using masks, I drew the amount of melanin (the 'brownness' of the skin), the amount of hemoglobin (the 'redness' of the skin), the ambient occlusion, the translucency (how deep the light penetrates the skin) and the eyebrows.
The melanin and hemoglobin levels are the features that vary most from person to person. The intensity of these were decided by a 0 - 1 slider. The range of possible skin tones was stored into one lookup image, the sliders would then decide the x and y axis of the image.
There was an extra mask for additional skin details, such as moles or discoloration of the skin.
This approach to skin tones is supported by these studies: https://reality.cs.ucl.ac.uk/projects/skinperf/skinperf.pdf
https://reality.cs.ucl.ac.uk/projects/internal/defskin/defskin-080123.pdf
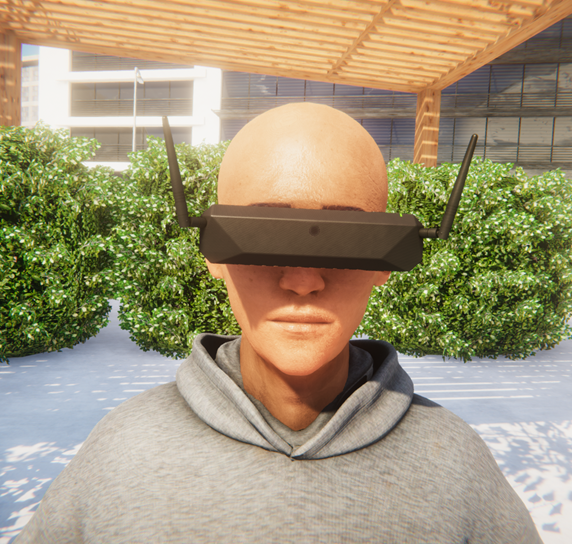
This is what the results looked like in Unity.
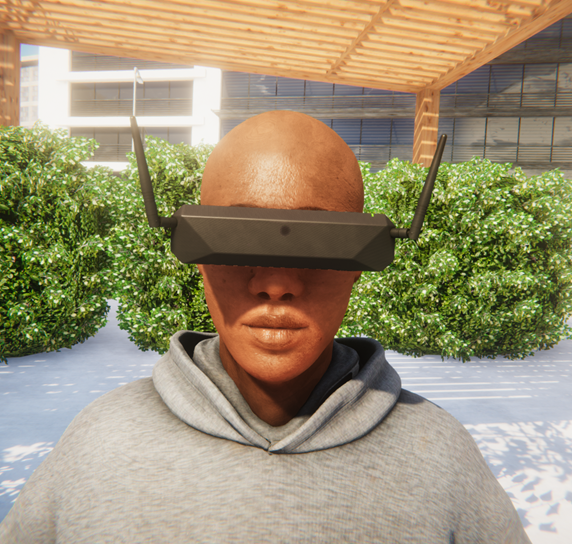
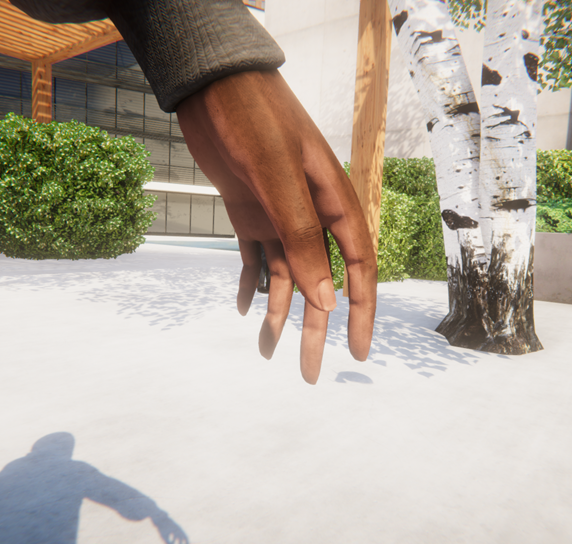
Additionally, the hands were created using the same shader and technique, taking special care around the fingernails and the melanin levels on the inside of the hands.


Hair
Hair was a personal challenge to me. A lot of time was spent simply researching and trying out different workflows on how to get to the best results.
The first workflow I attempted for use in game was to use Maya xGen to generate the hair cards. I had worked previously with xGen on a personal project and had a basic understanding of how to work with it. I chose a rather simple hair cut for this first serious attempt.


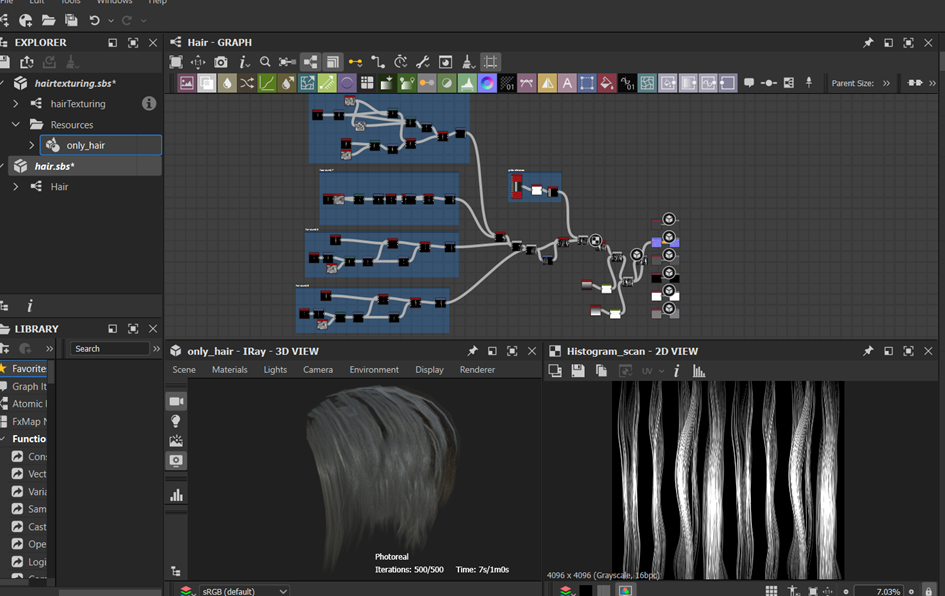
I then used Substance Designer to generate the textures for the hair cards using scratch generators.
I ran into a few problems with this hair style. The most obvious one being that xGen is just proved too unreliable for the positioning of objects the size of hair cards. Especially considering this workflow needs quite a lot of them to cover the scalp. Even with later adjustments, you could quickly spot overlapping cards.
Additionally, for this hairstyle to have the best result the textures had to use full transparency. Not only is this not ideal from a performance standpoint, but it could also result in annoying sorting issues when the character was behind a pane of glass or something simular.
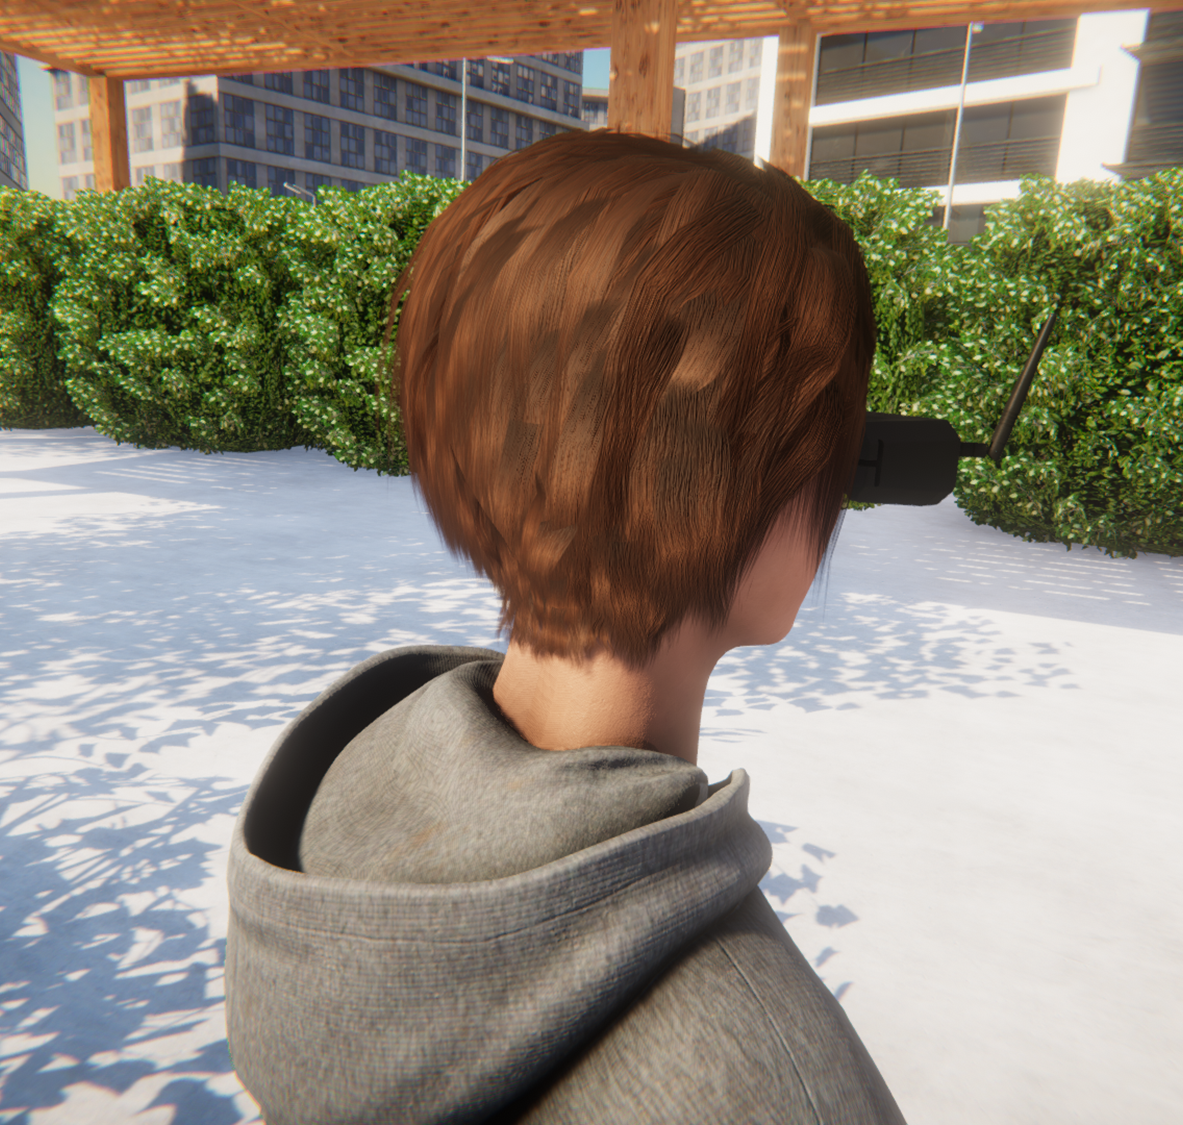
I knew I could do better. I wanted to try a workflow inspired by Johan Lithvall (Horizon Forbidden West) next. This is based on layering the hair: start with a base layer to cover up the scalp, then add a layer of hair cards to break up the base, and finally add layers of smaller hair until the groom has reached its desired look.
Lithvall used Maya to place the haircards and Maya xGen to generate the hair textures. I used the curve snap tool in zBrush to place the hair cards and my previously created hair texture generate in Substance Designer to generate new textures.

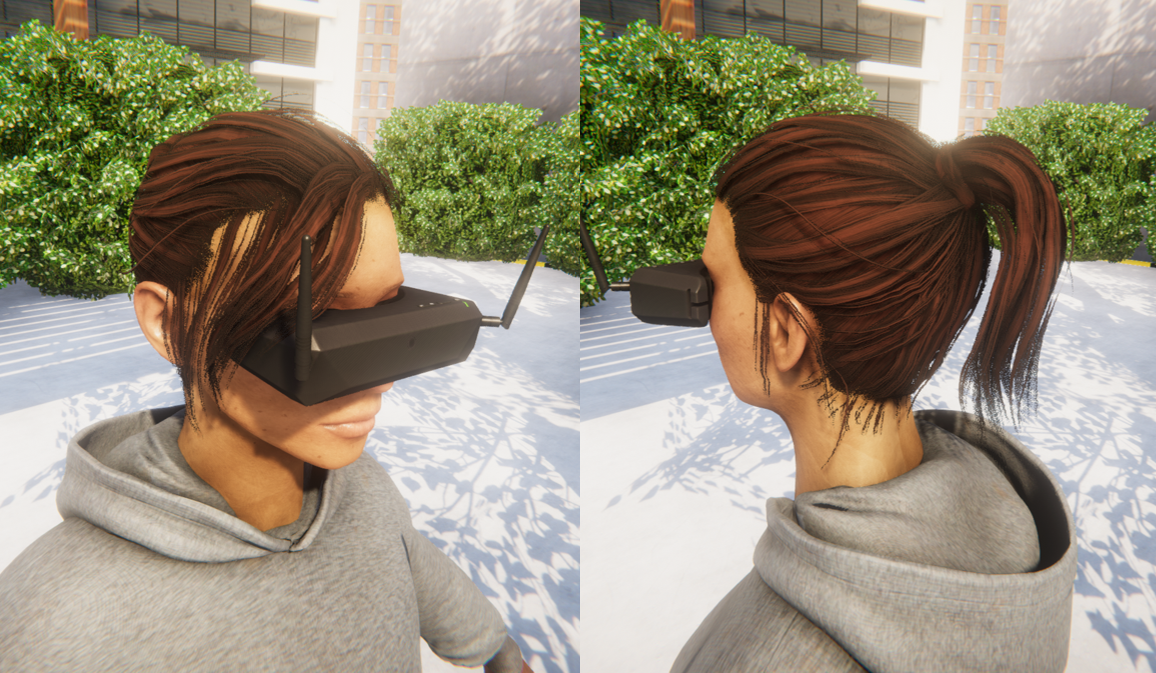
Not only does this technique use significantly fewer polygons (about 50%), it also avoided transparency, which means there would be no clipping issues with other transparent objects.
I created two more haircuts using this technique.

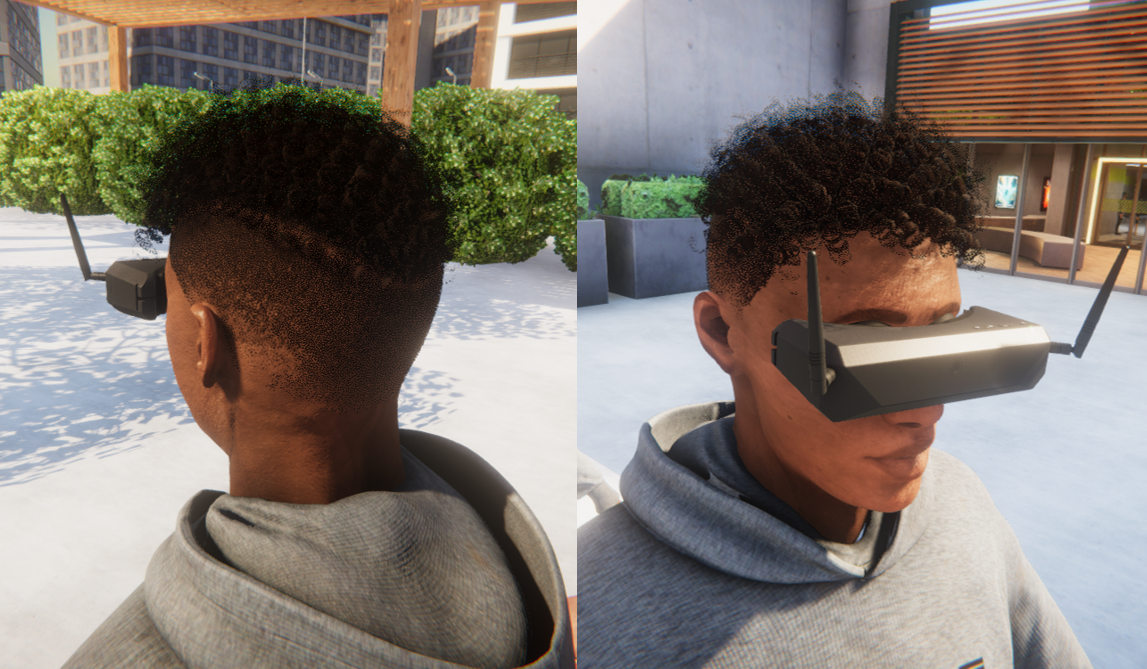
I created special textures using the maya xGen technique for both the undercut of both masculine characters and extra curls for the curly hair style. That hair style in particular was a challenge, but one that I really wanted to try before my time on this project came to a close.
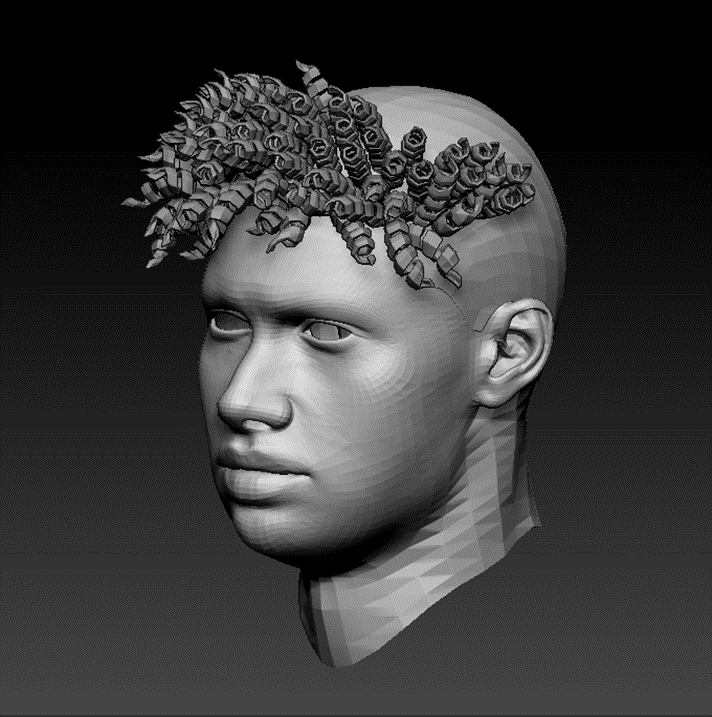
I created a custom curly brush in zBrush to continue my usual workflow. I used my usual straight haired texture for these, but added extra normal hair cards in between to fill everything out, using the new texture generated through maya xGen, as my Substance Designer generator could not produce curly hair textures accurately.
Conclusion
I can safely say that my time at LuGus Studios has taught me a lot. I was given the time and space to pursue improvement where my interest and the assignment overlapped, with plenty of encouragement, guidance and feedback along the way.
It goes without saying that the experience of being placed in a professional environment and getting the chance to participate in the workflow of an established title was very valuable. Especially considering the task I was given was quite the significant one. I am grateful for their trust in me. Their feedback and advice proved invaluable to pushing my models to their fullest potential.
One specific artistic area I improved significantly in is hair grooming. It was something I knew I was interested in but had never taken the proper time to learn before. LuGus graciously gave me both the time and space to research and attempt different methods, until I found one that wielded great results in good time and I also greatly enjoyed.
They encouraged me to not get distracted by insignificant details and incentivized me to think about how to maximize my time working for them. Even down to being allowed to conceptualize how to best go about creating as many characters with as little work as possible.
Of course, the hard deadline of internship ending did loom heavily at times, especially since I didn’t know beforehand how much time each hairstyle would take me. While there were certainly more things I could have done if I’d had more time at LuGus, I managed to finish everything that I had set out to do at the start of my main assignment, which I am quite proud of.
I used Substance Designer for the first time while generating textures for my hair cards, learned how to create custom Zbrush brushes for the curly hair style and expanded my rudimentary knowledge on Maya xGen. It was reassuring to prove to myself that in being given a challenging task I did not shy away from using tools I was barely familiar with, while utilizing tools like Zbrush in ways that expanded my proficiency even further.
I am both extremely proud of the results and happy with everything I learned along the way.
Thank you for reading this far and for your interest in my work. I hope my journey through this assignment was valuable to you as well.
You can find these characters on my portfolio as well https://www.artstation.com/yunaothmer. You can also connect with me on LinkedIn https://www.linkedin.com/in/yuna-lev-othmer-a23267245/ or watch me scream into the void on twitter https://twitter.com/theleviath_arts.
- Lev